
How to securely wipe an SSD on Windows 11 and 10? Solid-state drives (SSDs), especially those using NVMe technology, have become popular for their high-performance capabilities. However, making sure information is securely removed from these drives presents users with unique challenges.
As the title suggests, this blog is all about how to wipe data from SSDs. Firstly, you can find out the benefits of using an SSD and the challenges of wiping data from these devices. Finally, you can read step-by-step instructions on how to wipe an SSD on Windows 11 and 10 using BCWipe Total WipeOut.
What Is an SSD Drive & Main Benefits
Before we explore the secure wiping process for SSDs, let’s take a minute to understand what an SSD is and why it has revolutionized the field of storage technology.
Solid-state drives are a type of storage device used in computers. Compared to traditional hard drives (HDDs), SSDs offer:
- Reduced Latency
Unlike HDDs, SSDs use non-volatile flash memory to store data, resulting in quicker boot-up times, faster program loading, and speedier file saving. - Enhanced Performance
While HDDs have spinning disks and magnetic read/write heads prone to mechanical breakdowns, SSDs have no moving parts. They consist of a flash controller and NAND flash memory chips, allowing for enhanced operations.
This makes SSDs ideal for high-performance computing and data-intensive applications that require real-time processing.
Challenges of Wiping SSDs on Windows 11 & 10
Securely erasing data on SSDs involves overcoming specific challenges, making the process more intricate than simply pressing the delete button. Here are five challenges that users face when wiping data on SSDs:
- Data Allocation
Unlike traditional hard drives, SSDs distribute data across memory cells, making it challenging to pinpoint and overwrite specific file locations. - Data Compression
SSDs often use data compression technology. This complicates the erasure process, as traditional methods may not work well on compressed data. - Drive Degradation
SSDs use NAND flash memory, which gives them a limited number of write/erase cycles and affects drive performance and longevity. - Freeze Lock
The freeze lock command, designed to prevent accidental overwrites, can hinder the secure erasure of data once it is activated. - Compliance
Meeting compliance regulations requires secure erasure methods with specific requirements for each regulation. For instance, NIST SP 800-88 mandates the use of the User Data Erase command, which is not available on all software.
Benefits of Using BCWipe Total WipeOut on SSDs
Despite the challenges, securely erasing data from SSDs becomes manageable with a reliable solution like BCWipe Total WipeOut. Here are some features that SSD users are sure to find beneficial:
- Whole Drive Erasure
Simplify the process by wiping entire drives without needing to locate individual files. - Wiping Schemes That Suit SSDs
Use wiping schemes designed to combat data compression. This helps to minimize the impact on drive lifespan while maintaining efficacy. - TRIM Support
Ensure SSD performance by using software with TRIM support, thereby reducing concerns about degradation. - Freeze Lock Removal
Streamline the erasure process with software that automatically unfreezes drives that are in frozen mode. - Compliance
Adhere to NIST regulations with a preconfigured wiping policy, including support for the NVMe User Data Erase command. All in one click!
How to Wipe an SSD on Windows 11 & 10: Step-by-Step Instructions
Now that you understand the advantages of using a wiping solution to overcome the challenges of erasing data on NVMe drives, let’s guide you through the process using an example tool—Jetico’s BCWipe Total WipeOut. Of course, you are free to opt for the solution that best suits your needs.
Step 1: Starting Off
Before proceeding, ensure BCWipe Total WipeOut is installed. You can find additional information on software usage here. If you don’t want to purchase BCWipe yet, why not claim your 21-day free trial? For MacBook users, please refer to these alternative step-by-step instructions.
- Access the Start menu
- Select ‘BCWipe Total WipeOut’
- Click on ‘BCWipe Total WipeOut Configuration Wizard’
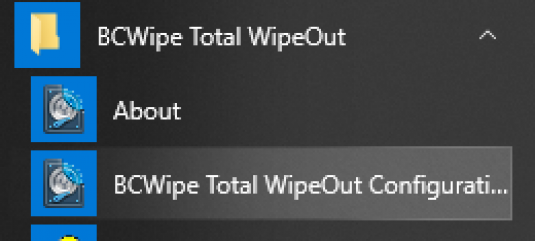
- Press ‘OK’ when asked for elevation
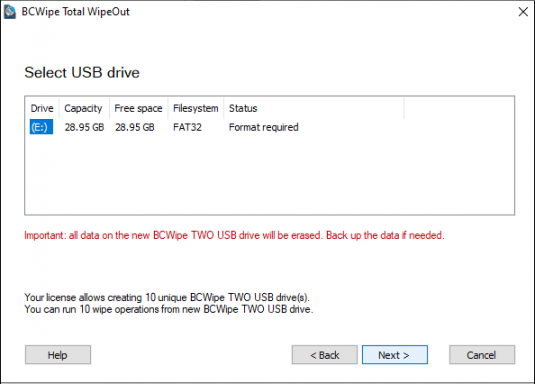
Step 2: Move BCWipe Total WipeOut to a USB Drive
Since you’ll be wiping the operating system, the next step is to transfer BCWipe Total WipeOut to an external USB drive.
- Select ‘Bootable USB drive’
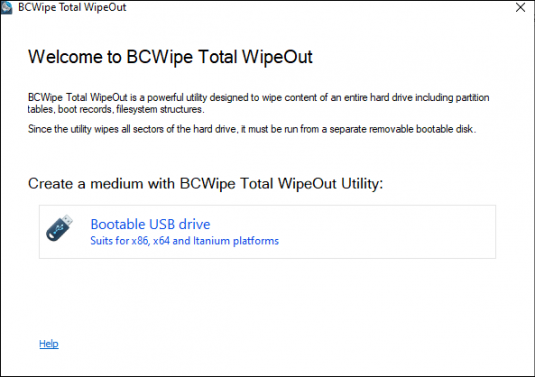
- Insert the USB drive into your computer
- Click on ‘Next’
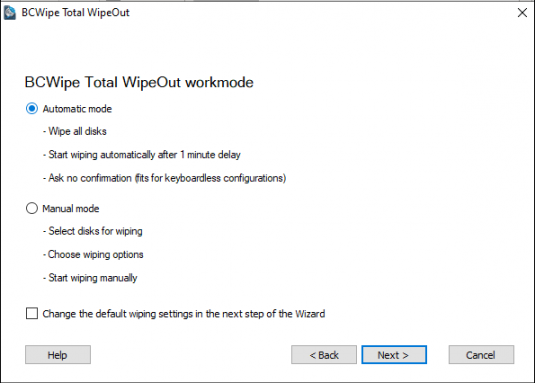
Step 3: Use Automatic Mode
This step provides instructions on how to wipe your system with BCWipe Total WipeOut’s default settings. For manual mode, please refer to this video.
- Select ‘Automatic mode’
- Click on ‘Next’
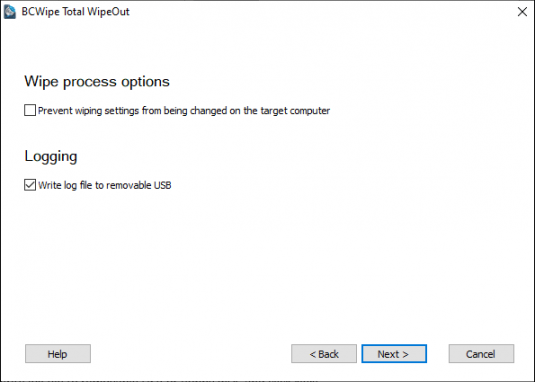
Step 4: Set Up Log File
You can opt to create log files for a record of prior deletions.
- Choose ‘Write log file to removable USB’
- Select ‘Next’
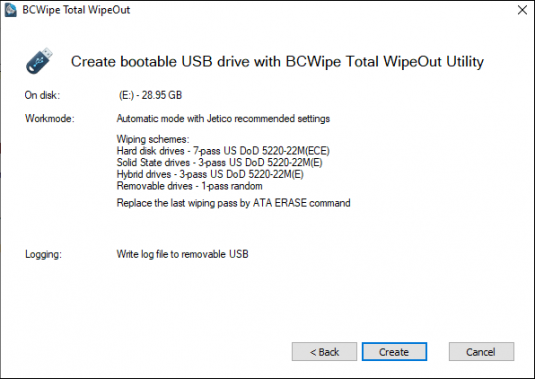
- Browse the summary
- Click on ‘Create’
- Press ‘Finish’ after completion
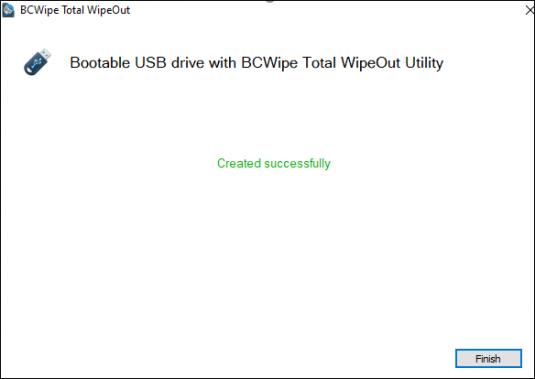
Step 5: Wipe Your Drive
The USB drive is ready for wiping. You can now boot the system you want to erase with this USB.
Reinstall Your Operating System After Wiping an SSD on Windows 11 & 10
Following the above steps will wipe all data, including the operating system. If you want to use your computer again, you must first reinstall your operating system. Find step-by-step instructions here.
To learn more about wiping hard drives, read our comprehensive guide.
Happy Wiping!
Related Articles
Data Sanitization 5 Common Myths
Hardware Decommissioning Process: A 5-Step Checklist
The Ultimate Guide to Deleting Files Permanently
IRS Publication 4812 & How to Comply with Wiping Standards
DoD 5220.22-M Explained – Data Erasure Standards
NIST SP 800-88 Guidelines for Media Sanitization Explained
How to Delete Files on SSD
How to Wipe a Hard Drive on a Dead Computer