


How can you wipe an NVMe drive? NVMe drives have become a popular choice for users that value high performance. Despite their performance benefits, this type of drive presents some challenges when it comes to securely removing information.
In this blog, we’ll explain a bit about NVMe drives, review the challenges of wiping data from NVMes and discover how a trusted data erasure solution can tackle these problems. Lastly, you will find step-by-step instructions on how to wipe an NVMe drive with BCWipe Total WipeOut.
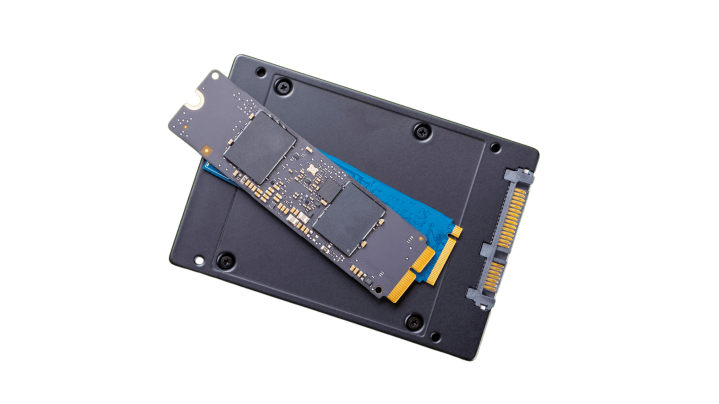
Before we dive into the particulars of how to securely wipe an NVMe drive, let’s take a moment to understand what an NVMe drive is and why they have become game changers in the world of storage technology.
Non-Volatile Memory express (NVMe) is a storage access and transfer protocol for flash and next-generation solid-state drives (SSDs). Compared to other interfaces used for connecting SSDs to computer systems, such as Serial ATA (SATA) and Serial-Attached SCSI (SAS), the NVMe protocol provides reduced latency, more efficient performance and a much faster way of accessing non-volatile memory. This makes NVMe drives ideal for high-performance computing and workload-intensive applications that require real-time processing.
Specifically designed for SSDs and compatible with all major operating systems, NVMe has quickly become a popular storage choice for laptops, PCs and data servers alike.
Securely erasing data on any computer system isn’t as simple as hitting the delete button, but it’s more complicated on SSDs than it is with traditional hard drives. Here’s 5 of the challenges that SSD users face when erasing data:
SSDs don’t store data in the same way that hard disk drives (HDDs) do. With a traditional hard drive, you know exactly where each file is located. Any given file occupies a number of sectors on the drive, and a wiping tool can locate those sectors and overwrite them.
With SSDs, it’s not so simple. Memory cells have a limited capacity of read/write operations, so writes are distributed evenly across the drive. This means you can’t know for sure where your recently saved data has gone, making it challenging to locate and overwrite a specific file’s location.
In order to reduce the amount of information written to storage devices, data compression technology is now commonly included in SSDs. However, data compression can cause problems when it comes to wiping SSDs. The traditional way of erasing data, with patterns such as 0s and 1s, is ineffective on some SSDs due to compressed data taking up less space than that which is indented.
Whereas traditional hard drives store data with rotating magnetic disks, SSDs use NAND flash memory. As we mentioned in Challenge #1, the cells that comprise NAND flash memory chips can only be written or erased a limited numbers of times before they wear out. This means the erasing process affects drive performance and increases the level of degradation.
Freeze lock is a command that sets SSDs to frozen mode. Designed to prevent accidental overwrites or damage, it ensures that nobody can alter your drive settings. Once freeze lock is activated, however, it can be an issue to securely erase data on your NVMe drive.
In order to follow compliance regulations, erasing data from drives has to be executed in a secure way that conforms to the regulation in question. What’s more, each type of regulatory compliance will likely have their own specific requests. For example, the NIST SP 800-88 requirements for media sanitization demands the usage of the User Data Erase command, which is not available on all types of software.
Despite the challenges of securely erasing data from NVMe drives and SSDs, these issues can be resolved by using a trusted wiping solution that is compatible with SSDs. BCWipe Total WipeOut, Jetico’s software for securely erasing data from entire hard drives, is one such solution. Here are some of the features that can benefit users of NVMe drives:
Now you know about the benefits of using a wiping solution to tackle the inherent challenges of erasing data on NVMe drives, it’s time to walk you through how to use such a tool to wipe your computer clean.
We are using Jetico’s BCWipe Total WipeOut as an example for the purposes of this blog, but of course you are free to use the solution of your choice.
Before you go any further, it would be handy to make sure you have BCWipe Total WipeOut installed. Additional information on using the software can be found here. For those not ready to purchase to purchase the software yet, you can take advantage of a 21-day free trial. If you have a MacBook, please see these alternative step-by-step instructions.
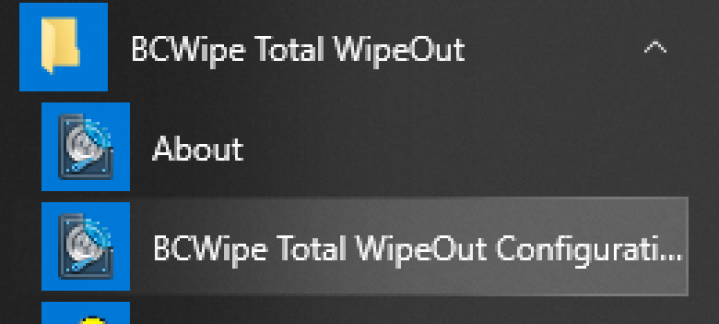
You will be wiping the operating system from your computer, so you need to put BCWipe Total WipeOut on to a USB drive (USB external eraser) to complete the operation.
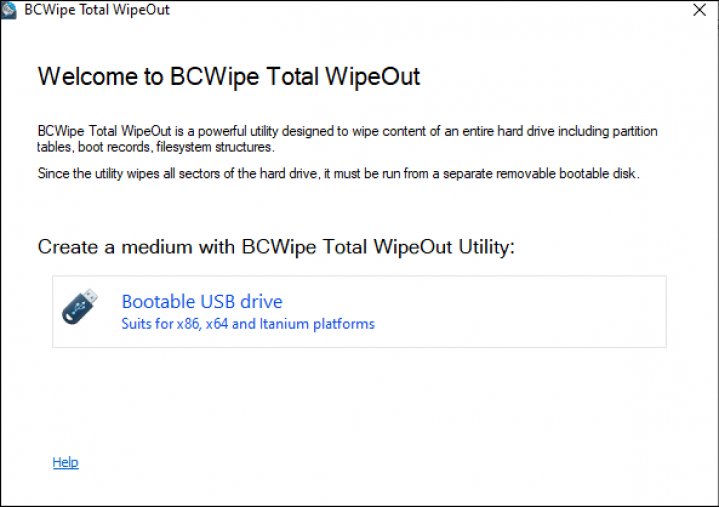
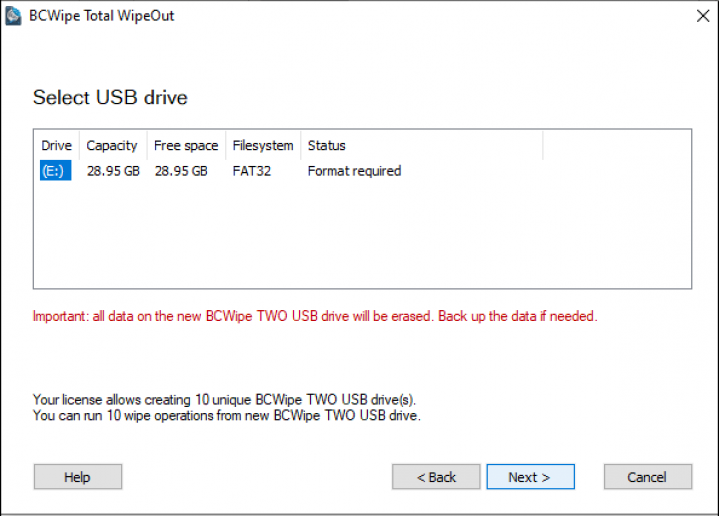
Here, we include instructions to use default settings to wipe your system. If you want to use Manual mode instead, please check this instructional video.
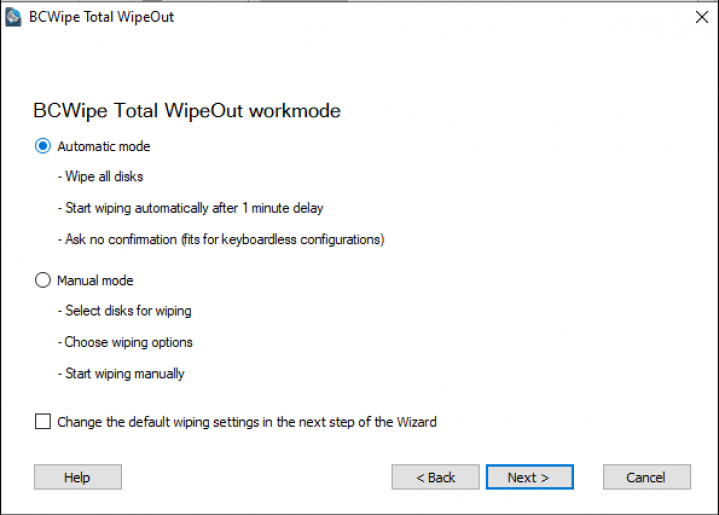
Now, you can choose to create log files if you wish. Logging is important if you want a record of what has been deleted.
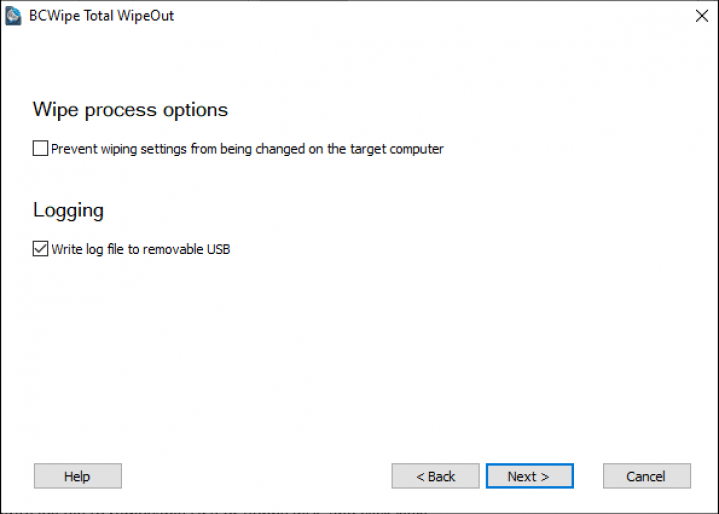
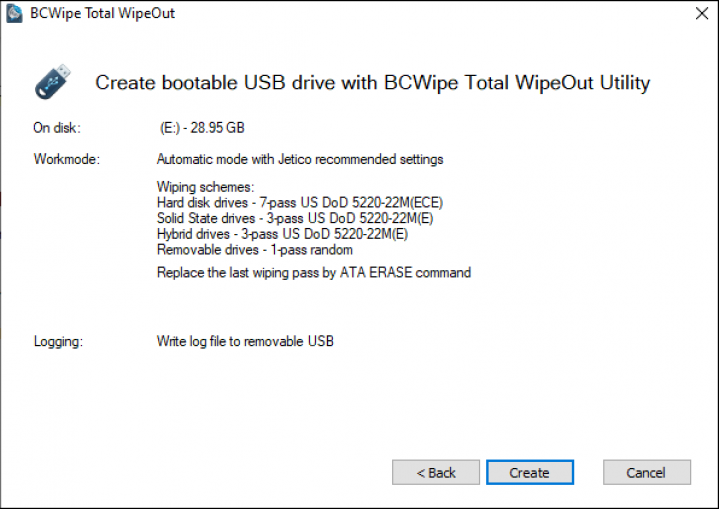
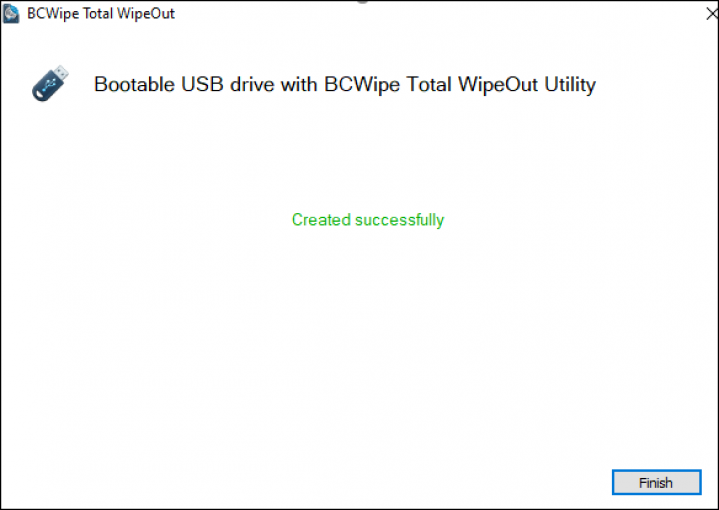
The USB drive is now ready to be wiped. You can now boot the system you wish to erase with this USB.
By following the steps listed above, all of the data from your drive will be wiped. This includes the operating system, file system, information about partitions, and hidden disk areas.
To use your computer again, you first need to reinstall your operating system. Find step-by-step instructions on how to do so here.
If you want to learn more about wiping drives, why not check our ultimate guide?
Happy Wiping!
Related Articles
Data Sanitization 5 Common Myths
Hardware Decommissioning Process: A 5-Step Checklist
The Ultimate Guide to Deleting Files Permanently
DoD 5220.22-M Explained - Data Erasure Standards
NIST SP 800-88 Guidelines for Media Sanitization Explained
IEEE 2883-2022 Standard for Sanitizing Storage
IRS Publication 4812 & How to Comply with Wiping Standards
How to Delete Files on SSD
How to Wipe a Hard Drive on a Dead Computer
How to Wipe an SSD on Windows 11 & 10

Jetico Technical Support helps customers find answers...
- Access our knowledge base articles
- Watch our How-To videos
- Contact us for insights