Installation
To install BCWipe Total WipeOut Enterprise Edition, follow these simple steps:
1. Run the installation file.
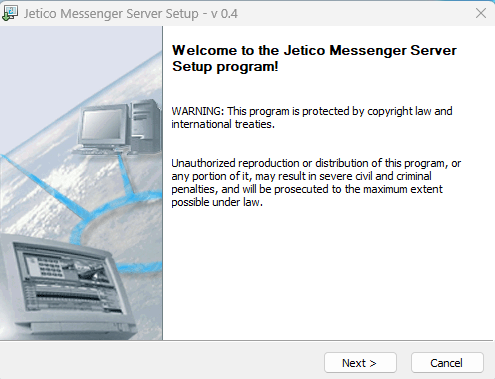
Download messengerServerSetup.exe following the link received from Jetico Sales together with the license key. Double-click to start the installation process.
|
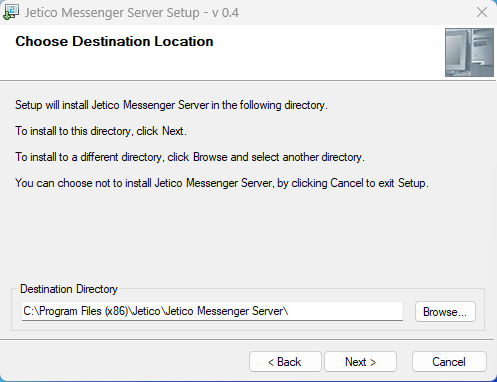
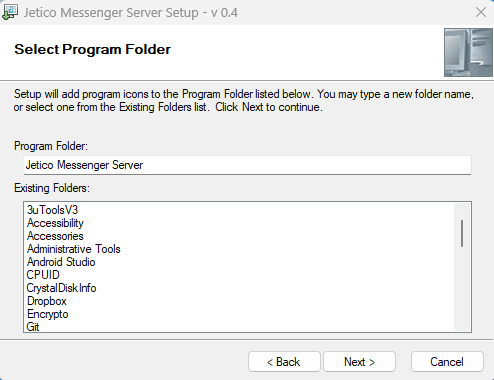
Use these controls to navigate the Setup Wizard. We will review the key dialogs in the next step.
|
|


|
|
|

|
|
|

|
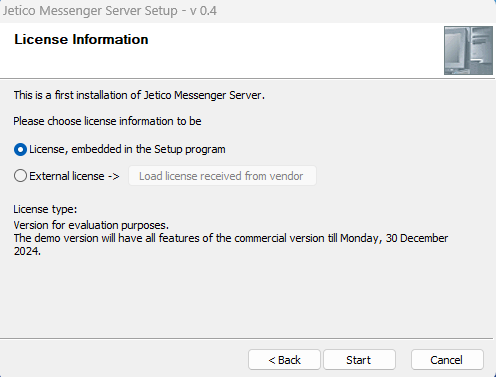
If the server installation file you received contains a built-in license you can press |
|
|
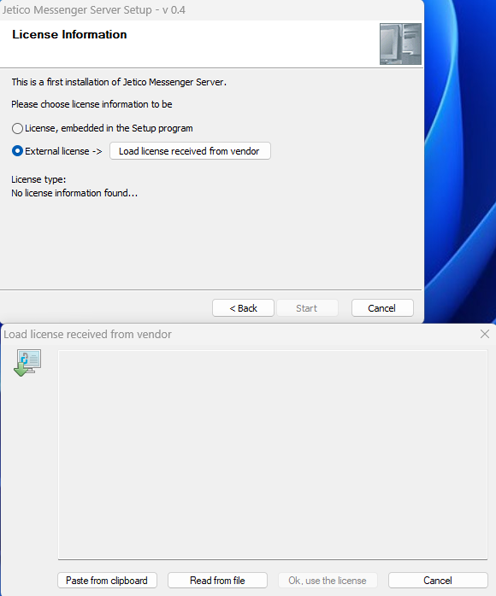
If the server installation file you received does not contain a built-in license, then you need to select second option "External license" and press "Load license received from vendor". After that, a window for entering the license will appear below. |
|
|
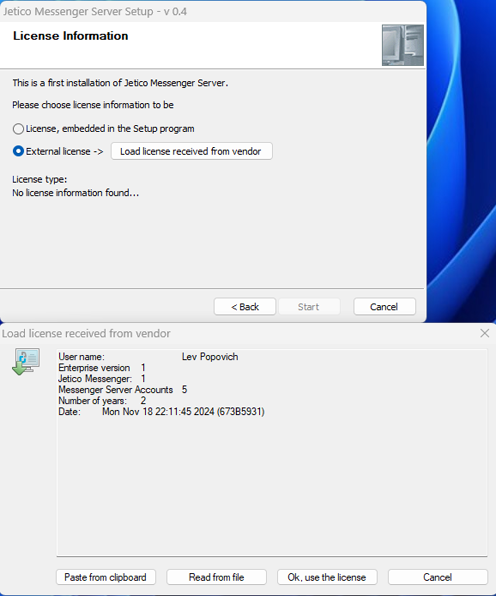
7. Manual license entry The license text received separately from the server installation file can be inserted from the clipboard or by specifying the text file in which it is contained. If you have copied the license text to the clipboard, press button "Paste from clipboard". If you want to enter the license from the file, press button "Read from file" and specify the path to this file. If everything is done correctly, the license text will appear in the window provided for this purpose. Press "Ok, use the license" to close dialog with license text and |
|
|
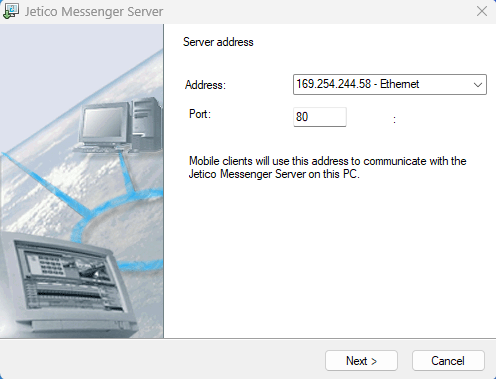
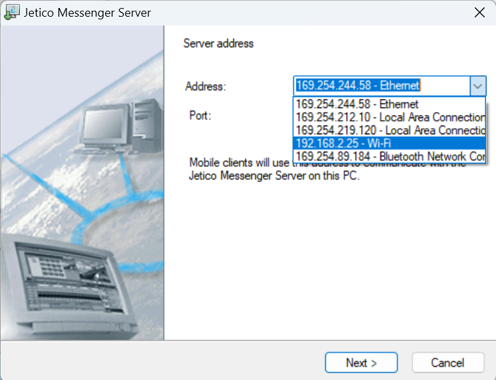
In this window, you need to specify the address and the port of the computer on which you are installing the server. |
|
|
Expand the drop-down menu to view all connections and IP addresses associated with the computer you're installing Jetico Messenger Server to. Select the preferred IP, specify a number of the port and click |
|
|
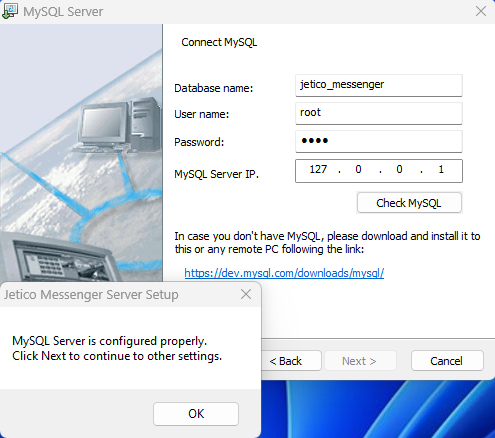
In the "User name" and "Password" fields enter the user name and password under which you registered the MySQL-server when you installed it on your computer. In the 'MySQL Server IP" field enter the address 127.0.0.1 |
|
|
If a message about the impossibility of establishing a connection with the MySQL server appears, then carefully check all the entered data. |
|
|
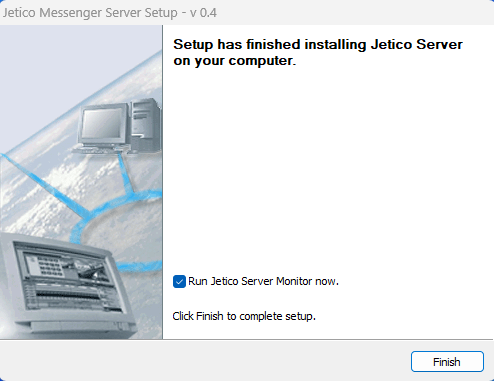
Check "Run Jetico Messenger Monitor now" to launch the server monitor and click |
|


|
|
|
